Asteroid Blaster
We are following this tutorial : Space Invaders
Remember you can make the game as different as you want. This tutorial is designed to show you what you can do with a scratch game.
Don’t forget the space theme!
Open a new scratch project and name your game to begin.
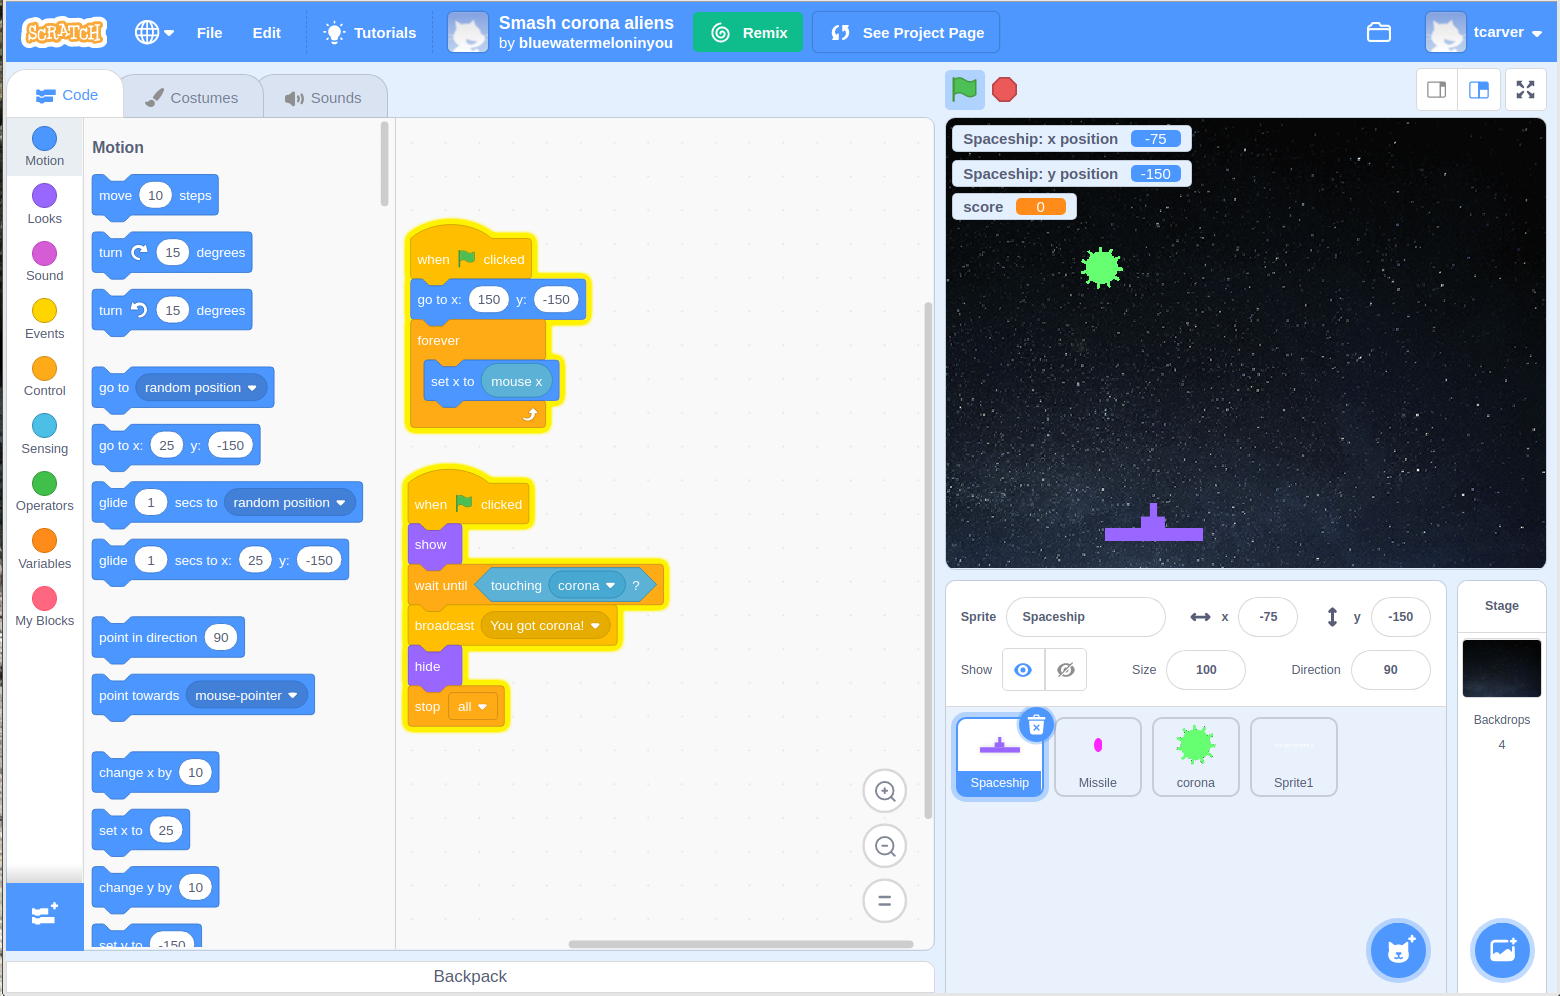
To see an example of this style of game click here
Step 1 : Making Sprites
Our first sprite here will be the sprite the player controls. For example a spaceship that will blast asteroids.
There are 4 main ways to make a sprite:
Choose an existing sprite
Upload a sprite image. You can upload an image you have from before, or one from our shared folder
Paint your own sprite.
Duplicate a sprite you are already using. (right click on an open sprite and click duplicate)
Pick which of these you want by hovering over the sprite button (the cat).
Step 2 : Moving your sprites
You can tell the sprite :
Where to start
Where to move
When to move
What to follow
You do this using the blue “motion” blocks. In the motion blocks “x” means the horizontal position. So how far to the left/right your sprite is. To move your sprite left and right you change the “x” value. To move up and down you change the “y” value.
You can tell your sprite to move anywhere around the screen in order to hunt asteroids. But this game allows the spaceship to be moved along the bottom of the game screen, so only left or right but not up or down.
You can do this by telling the sprite to move by:
Using keys:
Choose the event block “when () key is pressed” and choosing right arrow. Below this block, use the motion block “change x by ()” and choose how far you want it to move each time you press the key.
Repeat this but this time choosing the left arrow from the drop down of the event and add a “-” in front of the value in the motion block. This will change the x direction to move left.
Follow the mouse:
Choose the event block “When green flag clicked” and add it to your coding space. Find the motion block “go to (mouse-pointer)” and add this to your code below the event. This will go to your mouse once. If you want it to keep following your mouse you must put this motion block in a forever loop from the control blocks.
Step 3 : Making a blaster
We want to allow our player to shoot other sprites with a blaster. In order to do this we need to make our blast bullets.
These bullets will act like new sprites which need their own code.
You need to tell this sprite:
When to appear (show/clone)
When to disappear (hide/delete)
What to do when it touches another sprite.
In this game we want our sprites to appear when a key is pressed or the mouse is clicked. We want them to disappear when they reach the end of the game screen or if they touch another sprite. We also want our sprites to be able to add points to our player when they destroy other sprites.
We control when our bullets appear by using the show/hide blocks from the looks section.
We know if our bullets are on the edge of the screen or touching another sprite using blocks in the sensing section.
We create points for our player and add to those points using blocks from the Variables section.
Step 4 : Cloning your sprites
In this game we want to be able to shoot many blasts. We also want to be able to have many obstacles or enemies.
But we don’t want to have to re-make all the code for every sprite that behaves the same. For example all the bullets for the blaster.
Instead we can create clones of our sprites which will make copies which use the same instructions for how to behave. When you code your sprite you just need to use 3 clone control blocks to tell it:
When to make a clone : “create a clone of ()”
What the new clones should do : Start a new bit of code with “when I start as a clone”
When to delete the clone : “delete this clone” block. You must ALWAYS use this at the end of your clone code.
You always need all three clone blocks when you use clones.
If you want to control you sprites with the mouse button find the (mouse) option in sensing.
Step 5 : Enemy sprites
In order to make the game a challenge you need obstacles. These obstacles make it harder for you to win and can even destroy you to end the game.
In this game we are making asteroids we can blast with our spaceship. We then need to make a new sprite which we tell to disappear when it touches our blasts/bullets.
The asteroids will be new sprites which we have to add to our game. We need to also tell them:
Where to start: For example at the top of the screen (y=180).
When to appear: For example every 5s.
When to disappear: For example when touched by a blaster.
Step 6 : Starting in a random position
If you want an element of surprise get your prizes or enemies to appear in random positions.
This is done by adding a blue motion block after an event or control block.
To put the sprite anywhere on the screen, find the “go to ()” block and choose “random position”.
To put the sprite anywhere on the top edge:
Find the “go to x:() y:()” block and add to code.
In the x section put the random number generator from the green operators blocks.
Edit the generator block to pick a random number from -240 to 240. Change the y number in the blue block to 180 which is the top of the screen.
Step 7 : Destroying sprites
To make the game more difficult we should also add that if these asteroids touch the player sprite then the player sprite disappears.
You can do this using the show/hide blocks or delete clone blocks if your sprite is a clone.
Step 8 : Game Over
To stop your game carrying on forever you need to have an end screen.
First you need to broadcast a message from the event blocks. You can call the message “game over” or “win” or anything you like. You will broadcast this message after an event which would end the game. For example if the player is touched by an asteroid.
You must then create a sprite to say “Game Over” or “You have Won!” This sprite must be set to not appear until the game has ended. This means setting to “hide” when the green flag is clicked. You then want to sprite to show when the correct message is broadcast.
You do this by using the “When I receive (message) block from the event section and adding “show” block underneath.